
Bulk storage setup
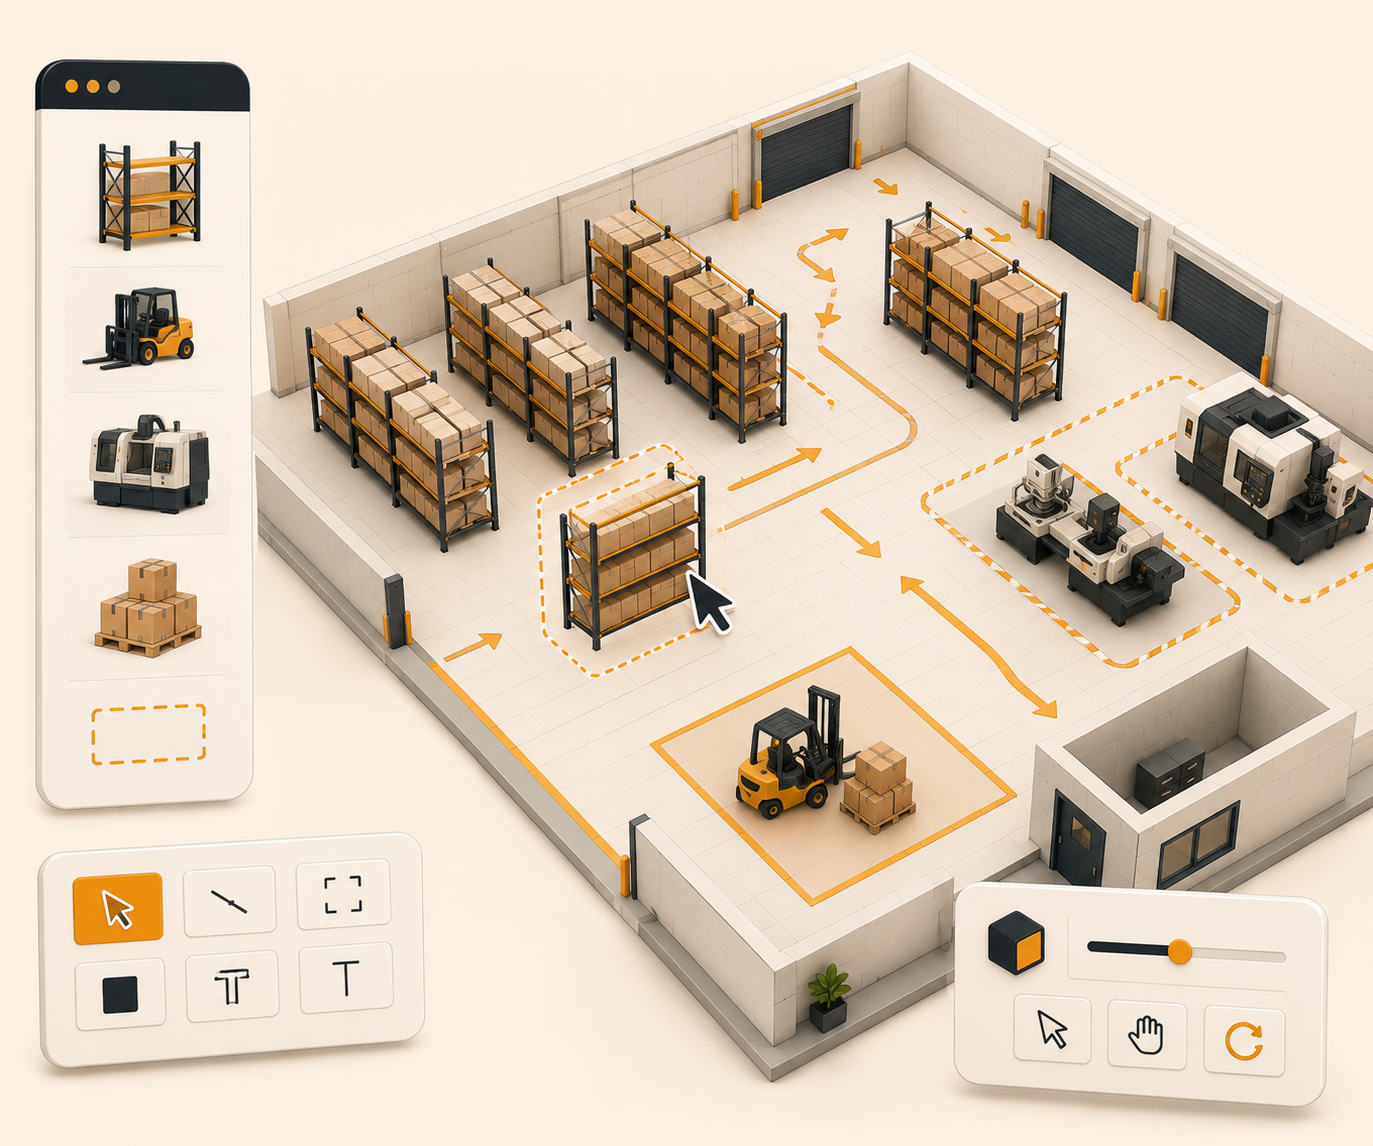
Create large sets of storage locations quickly so new warehouses and facility expansions can go live faster.
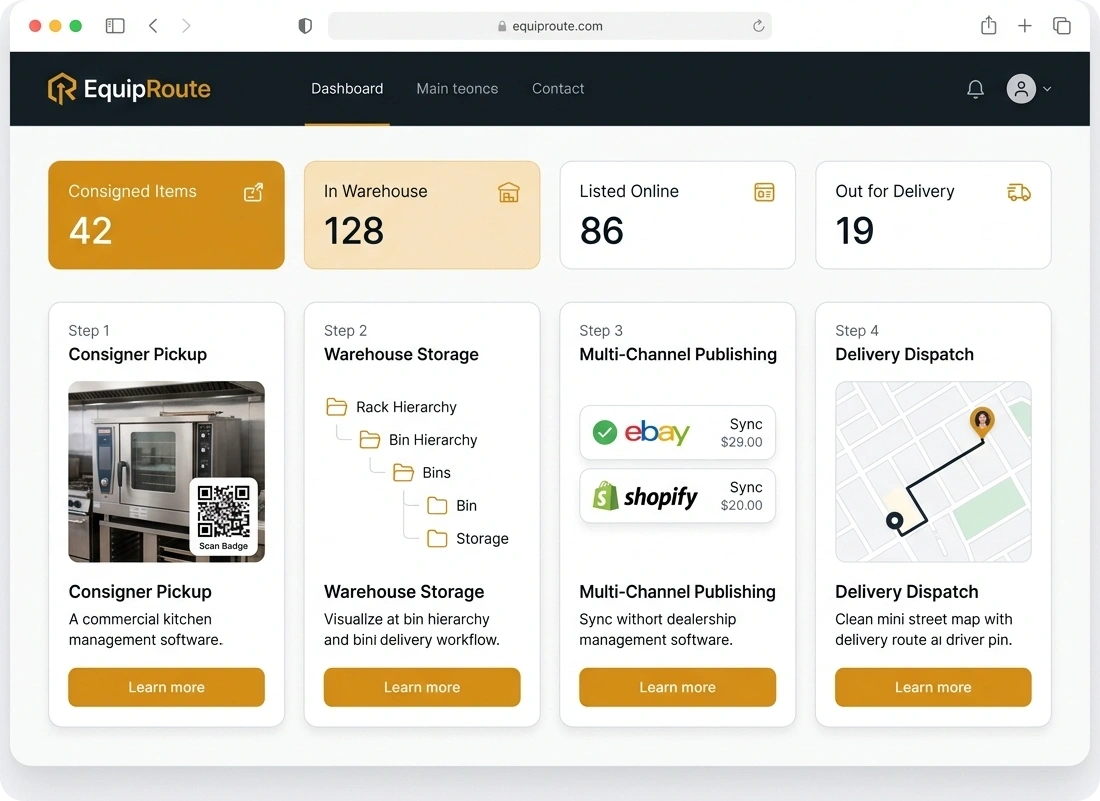
Follow these sequential steps in EquipRoute to execute your workflow smoothly and keep inventory accurate.
Navigate to Storage under Warehouse from the menu. Click on the Upload Storage button to open the upload page.
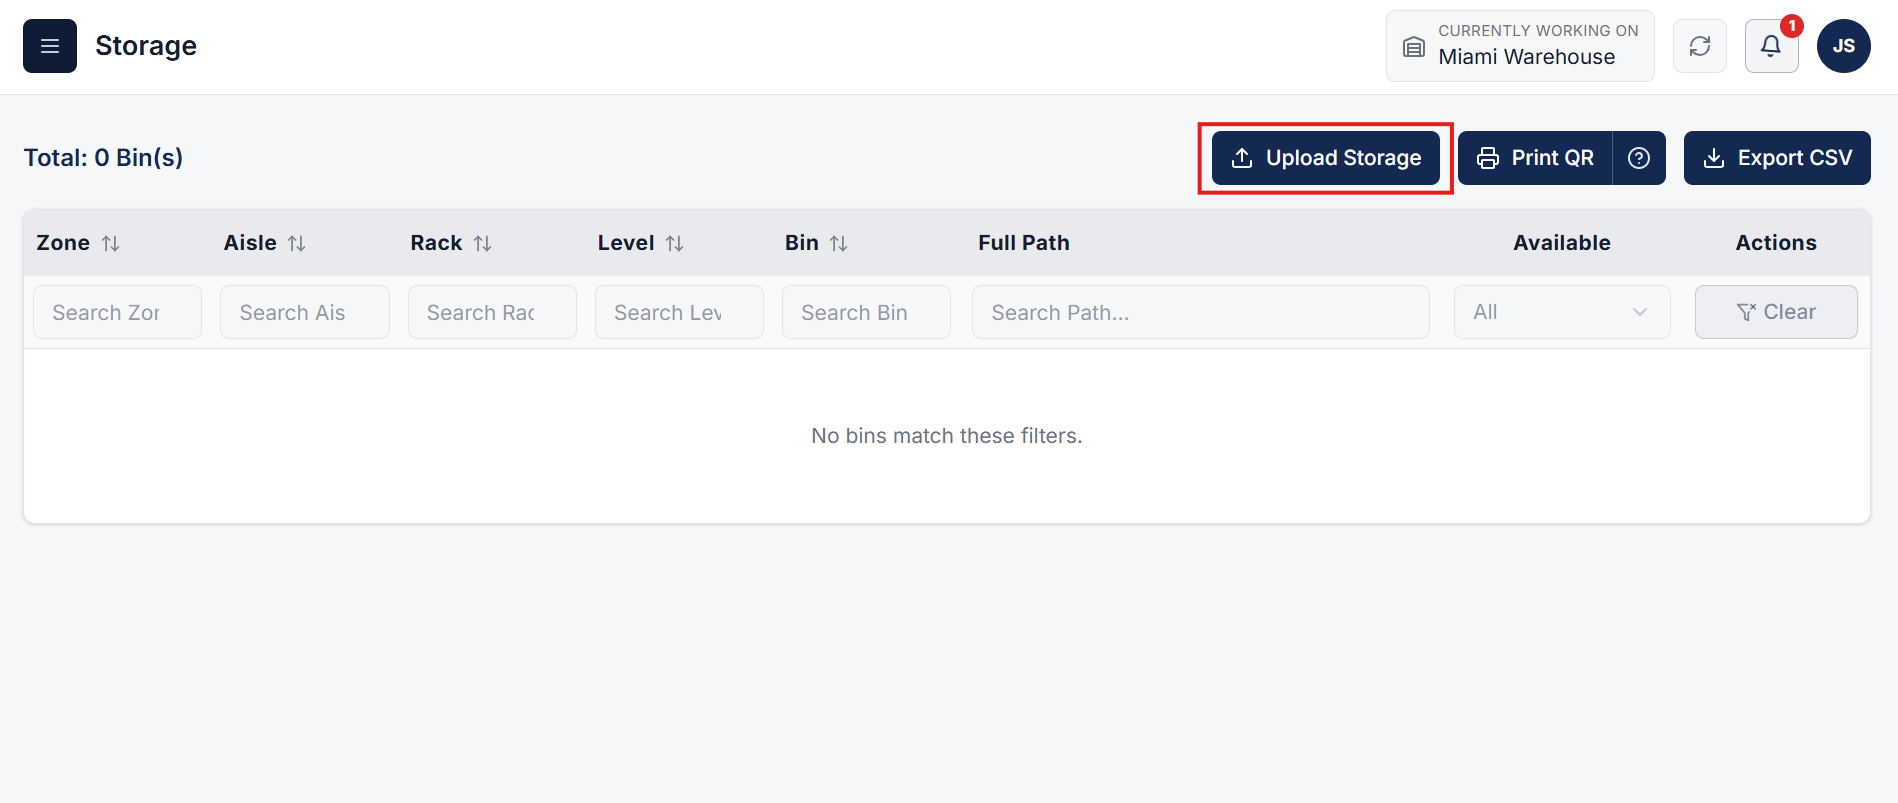
On the upload page, click on the Download Template button to get the CSV template file for your selected warehouse. Update the CSV file with your storage data based on your requirements.
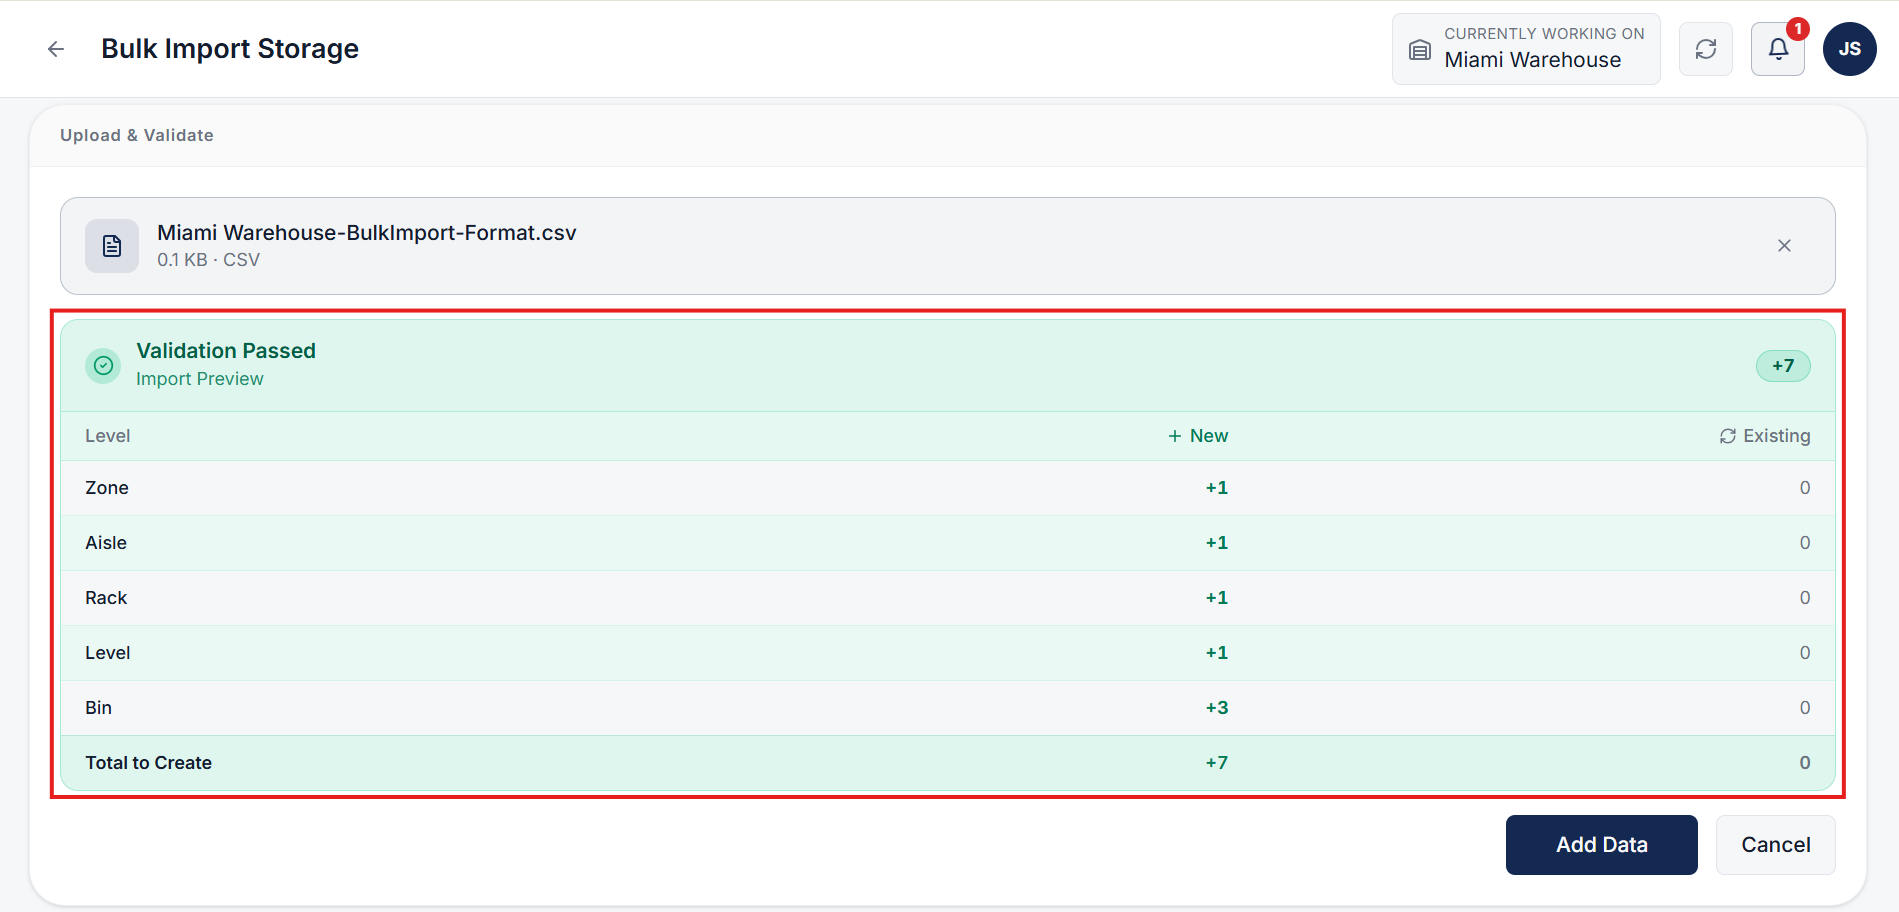
Z1 -> A1 -> R1 -> L1 -> B1Z1 -> A1 -> R1 -> L1 -> B2Z1 -> A1 -> R1 -> L1 -> B3The downloaded template will match your selected warehouse's structure format (e.g., Zone -> Aisle -> Rack -> Level -> Bin). Make sure all values are filled correctly and consistently as per the template.
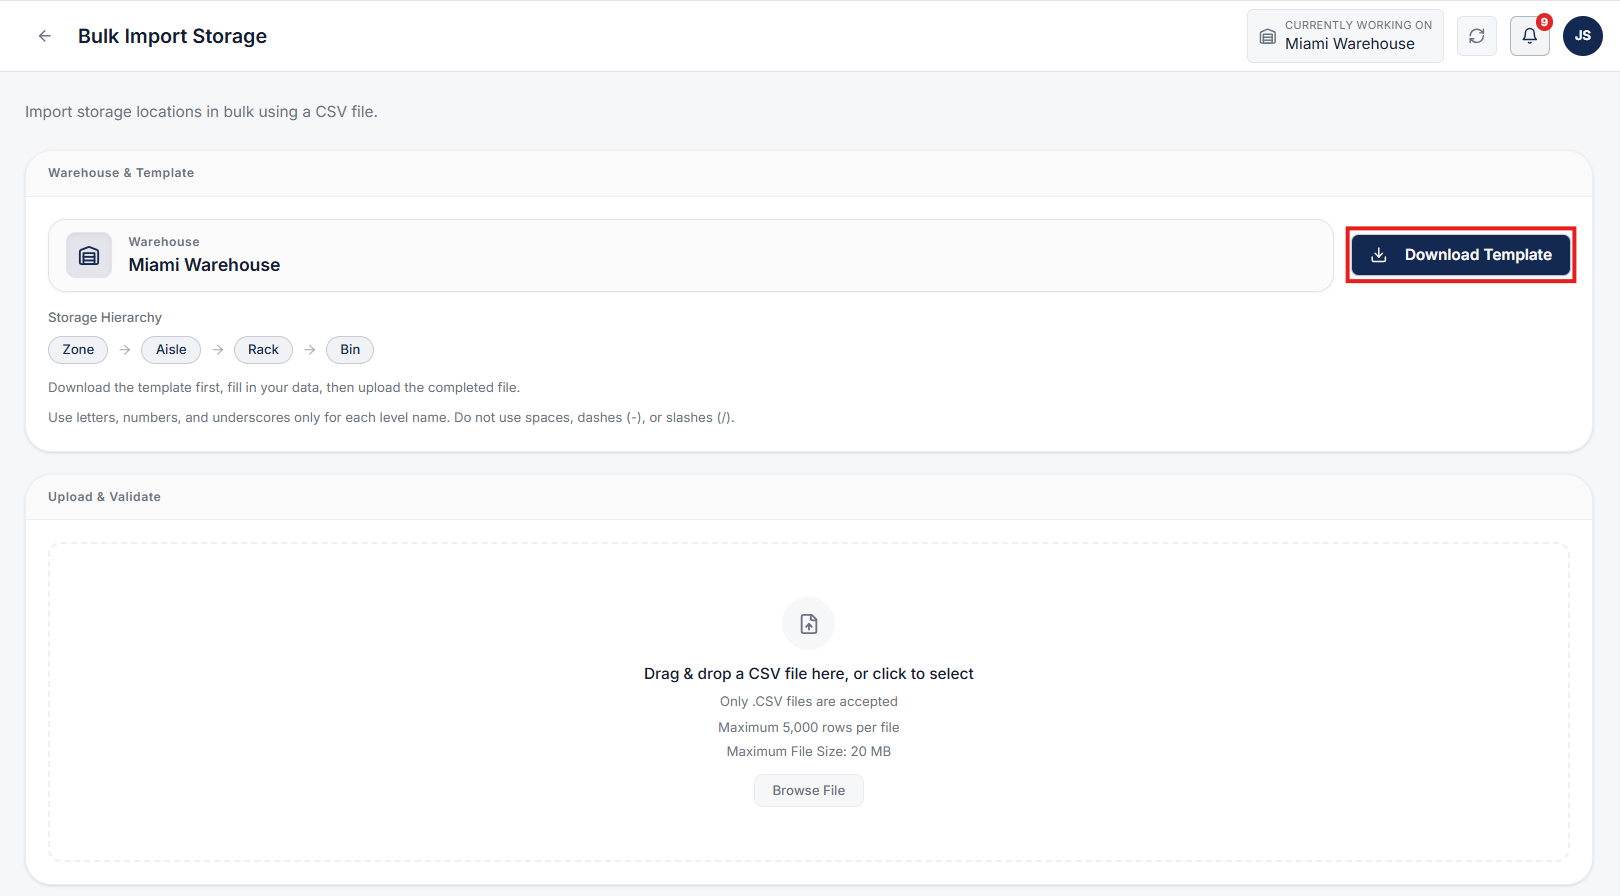
Upload your updated CSV file. Validate the import preview to check for accuracy. If the preview is correct, click Add Data to complete the import.
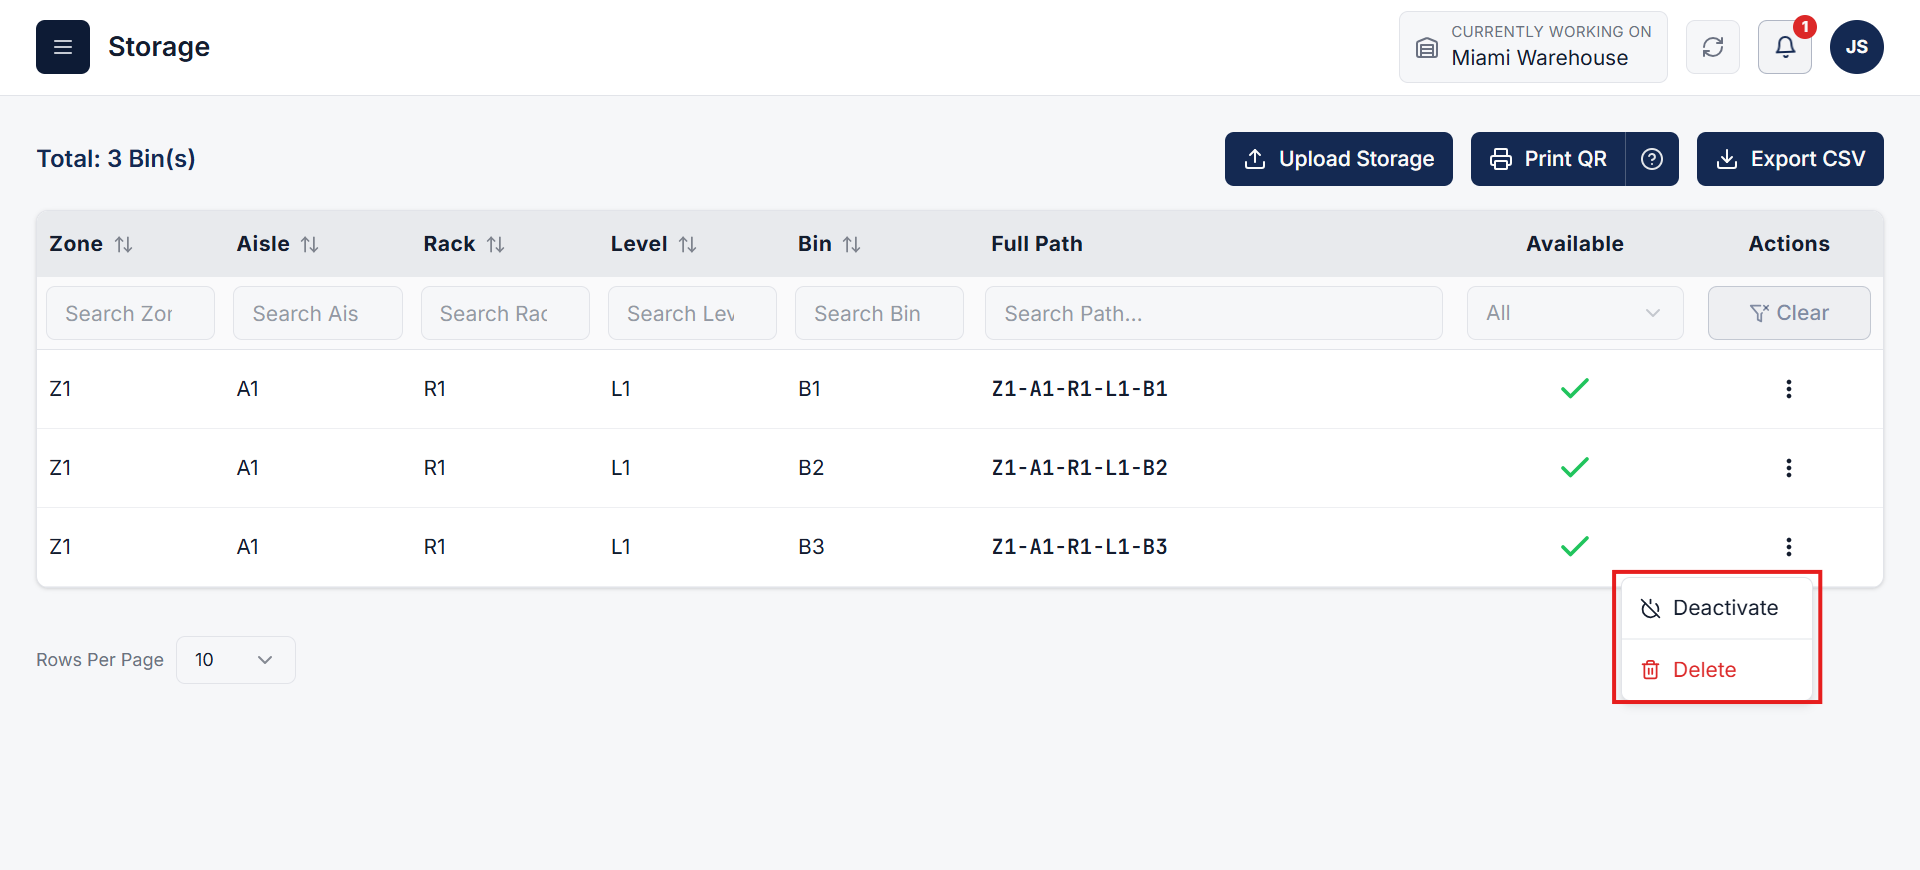
When you return to the Storage page, all your uploaded storage locations will be displayed. From here, you can manage your storage locations, view if a location is available, or check items stored inside.
Bulk storage creation accelerates setup and eliminates manual floor data entry:
This ensures a quick, standardized, and scalable warehouse onboarding workflow.
Clear answers on how this feature integrates into your daily equipment workflow.
Yes. Download the CSV for that warehouse, fill the rows to match its hierarchy, then upload. EquipRoute adds the locations in one import instead of one bin at a time.
Yes. The file follows the levels you turned on for that warehouse, such as zone, aisle, rack, level, and bin. Keep names consistent across rows.
EquipRoute displays an import preview highlighting formatting discrepancies before data is committed to inventory, allowing you to fix errors beforehand.
See the whole flow, from consigner pickup through warehouse, listing, and delivery, in a personalized live demo.